What are Automated Reports
Prerequisites -
To gain access you will require Admin Portal access (Wrench Icon)
(please ping support@theretailscore.com to be granted access to your Admin Portal - Automated Report)

Contents
1 - Automated Reports Homepage
2 - Skip to Automated Reports Setup Steps
Automated Reports
1. Log into your tRS Insights Portal.
2. Navigate to the wrench icon, in the Portal Banner
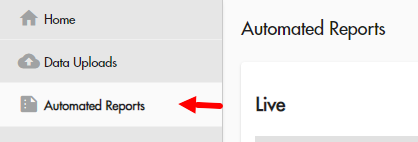
 3. Navigate to the Automated Reports and Report Definitions
Automated Reports Homepage
This section outlines how to add/disable Automated reports
4. There are two displays to help sort your automated reports by
- Live These are all current reports that have been set up and approved
- Report Definitions This manages the updating and creation of all reports and is the main focus for making changes to any and all reports.  From the Automated reports Home Page, reports can be managed as if they were a table in excel.
- Filter on Headers to find a report
- Enable/Disable button to start/stop Live reports in the Actions Header
- Edit/Delete Reports from ReportDefinitions in the Actions Header
6. Setting up an Automated Report
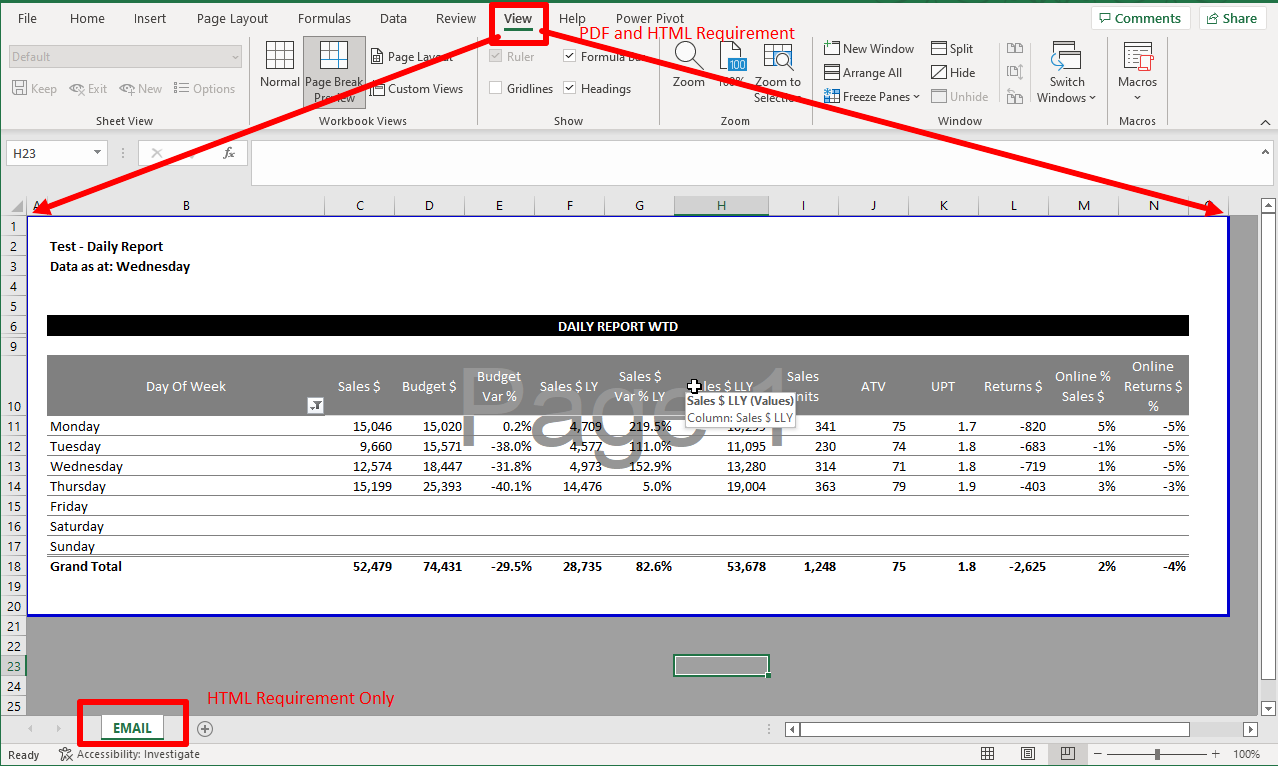
7. Critical Check - All Reports - Check - the View of the excel, to ensure it saves only the visible report.
For HTML the excel tab name must be "EMAIL", or it will not work
8. Description of all fields in the AR Definitions Page
Step 1 - + Add or Edit  your Pre-existing HTML File
Name - An internal Name for your report
Description - an internal description of your report
Report Trigger - When your report will be sent, two triggers
On Load Complete - Email is sent only on completion of Master Load Refresh
Scheduled - Email is automatically sent at the set Frequency and Frequency Time
(Scheduled Report Trigger MUST never be before 10:00 am)
Type - As explained above, click on Type to jump to descriptions (HTML, PDF, Excel, CSV)
Frequency - Two options, Daily and Weekly
Daily - Sends daily at the scheduled time or On Load Complete
Weekly - Sends on Day of choice each week, at the scheduled time or On Load Complete
(Multiple Days can be selected)
Frequency Time - Select the time at which your email is sent.
Recommendations for Frequency Time
-On Load Complete Set the frequency-time "delayed email trigger" to 11:00 am.
-Scheduled Reports (Must never be setup before 10:00 AM)
- Recommended to send 15mins past the hour to capture Hourly Deltas.
-Sending Multiple times a day - you can only choose similar time splits see examples
(Good - e.g. Sending a report at 10:15 am 2:15 pm and 5:15 pm will work)
(Bad - e.g Sending a report at 10:00 am 2:30 pm and 5:15 pm will not work) the minute splits must match
Email Information +++
Recipients - Emailing list of recipients (Recipients do not receive test emails)
Recommendations for Recipients
Upload your user list delimited with a semicolon ";" no spaces
e.g email@theretailscore.com;email2@theretailscore.com;email3@theretailscome.com
Paste the list and hit enter and it will upload all recipients in one go.
- If more than 5 recipients are attached, please think of using a mailing list (one email that forwards emails to the larger list) this prevents out-of-office emails from creating infinite loops.
- Please note that a mailing list is an individual email account that can be reached by an external mailbox and is different to an internal distribution list
Subject - Outbound Facing, Populates the Email Subject Line
Email Body - Outbound Facing, Populates the Email Body
Subject - No Data - Outbound Facing, Populates the Email Subject Line when the attachment fails to load
Email Body - No Data - Outbound Facing, Populates the Email Body when the attachment fails to load
9. Saving + Testing
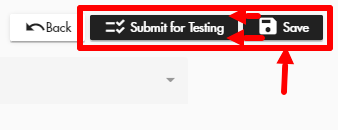
Once all fields have been populated, click Save in the top left-hand corner
(this will only activate once all fields with an asterisk * have been populated
Once Saved, Submit for Testing
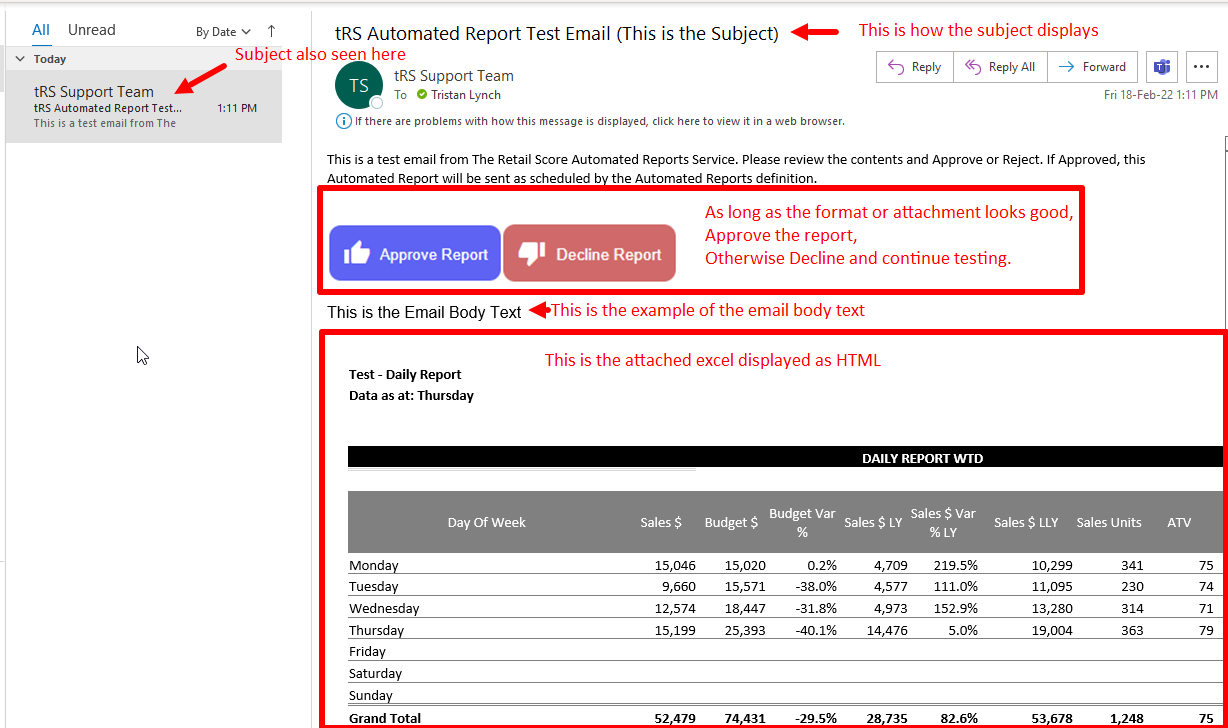
- Submitting an AR for testing will send the logged-in user an email
Below is an example of an automated report in testing, Once Approved it will send the exact same sample, without the testing details.
10 - Confirmation and Finishing
Once approved, the report will take you to the Live Tab, which shows you the current and finalised report that is scheduled and sending, you can deactivate the report from this page in the top left-hand corner.
Or from the actions on the Automated Reports home page
If you encounter any errors, please ping support@theretailscore.com
For more information, please see the below Links.