This page covers these topics;
- Access to tRS Connect
- About the tRS Connect Head Office Dashboard
- Useful Features
Access to tRS Connect
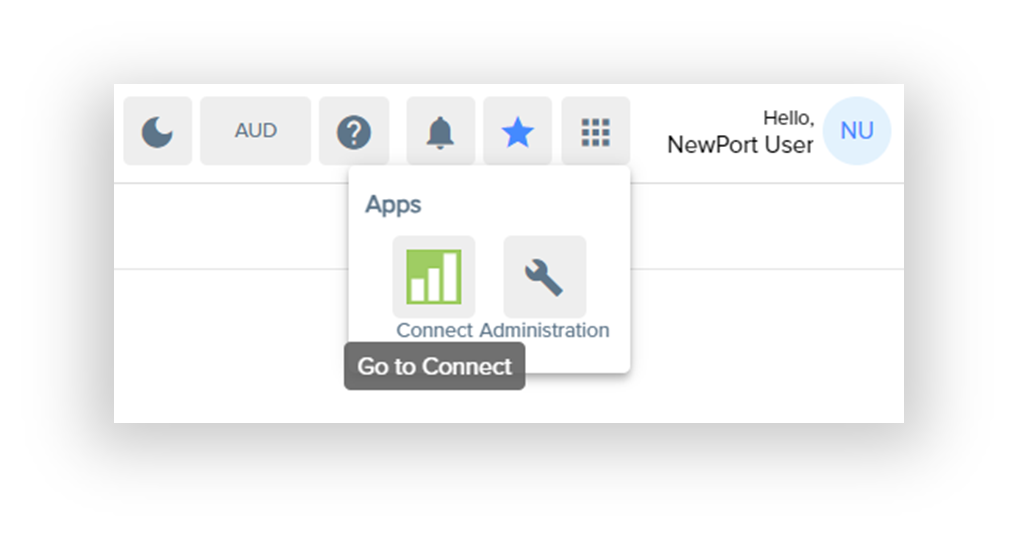
Via the app icon on the top ribbon, select the tRS Connect green icon
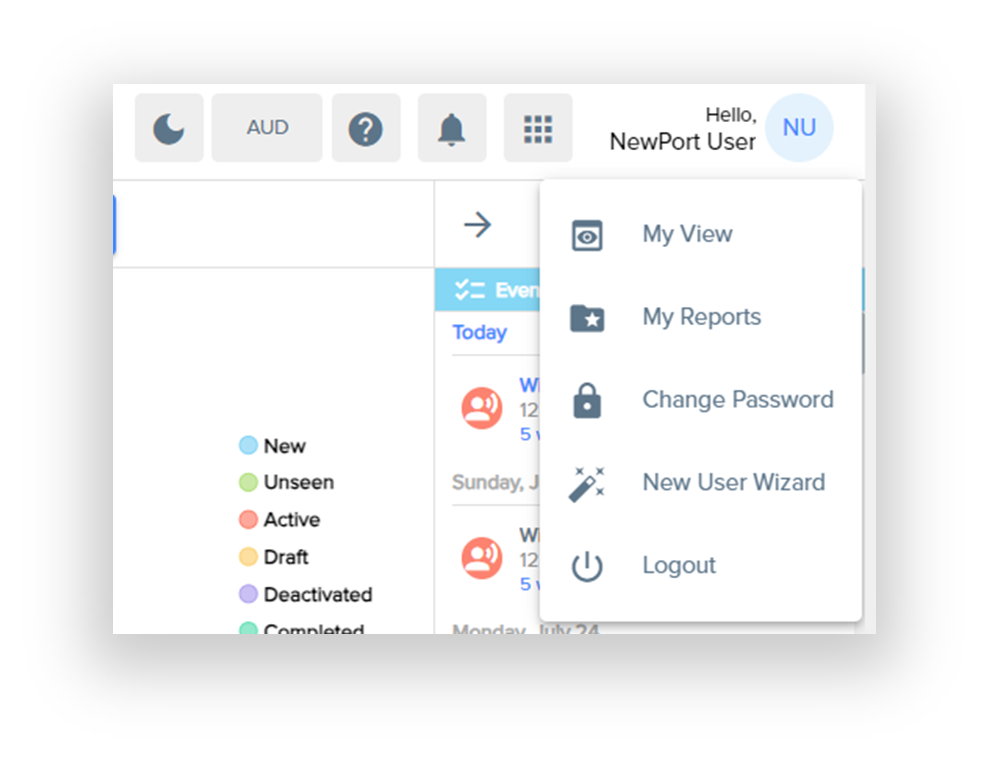
Once loaded, you can use the top menu icon of moon and sun to change the view from light or dark mode.

By clicking on your initials in the top right hand corner, you can select MyView to store and save the changes you make to the grids and filters which is saved for the next time you log in.
tRS Connect Head Office Dashboard
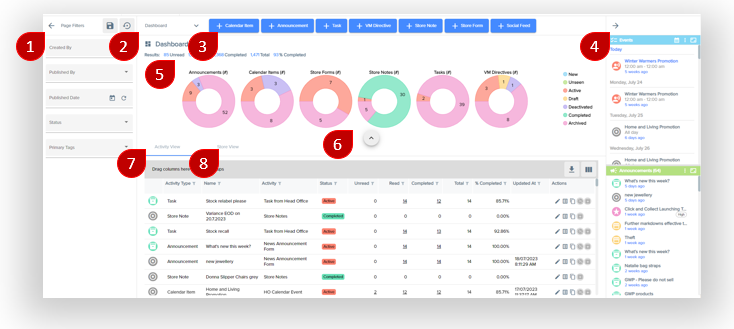
- Page Filters
- these include who created or published the Activity,
- when it was published, the status of all Activities and the Primary TAG assigned to the Activity.
- This pane can is collapsed as default using the arrow icon
- Selections here can be saved and applied when you next log on. This is really handy to have quick and simple visibility into the activities you have published and how they are tracking.
- Page View
- The default view is the Dashboard but you can drop down and select any of the other Activities for more of a focused view
- Add new component
- Simple and quick add new buttons to make it easy to add a new activity
- Calendar and Announcements Panel
- This is exposed as default but you can collapse this using the arrow icon
- This pane contains the Events Tile with the published Calendar activities
- And the Announcement Actvities that have been published via tRS Connect
- Results Crumb
- This is a simple text based summary of the number of activities by their response status of Unread, Read, Completed, Total, along with the total compliance score.
- These charts are exposed by default but can be collapsed using the arrow icon
- The purpose of these charts is to provide a numerical summary of the amount of activities by status that is being used across the platform including whats New but not published, unseen, active, in draft, deactivated, completed and archived. These can also be controlled by the page filter status option.
-
- This grid displays all activities with default selections as columns
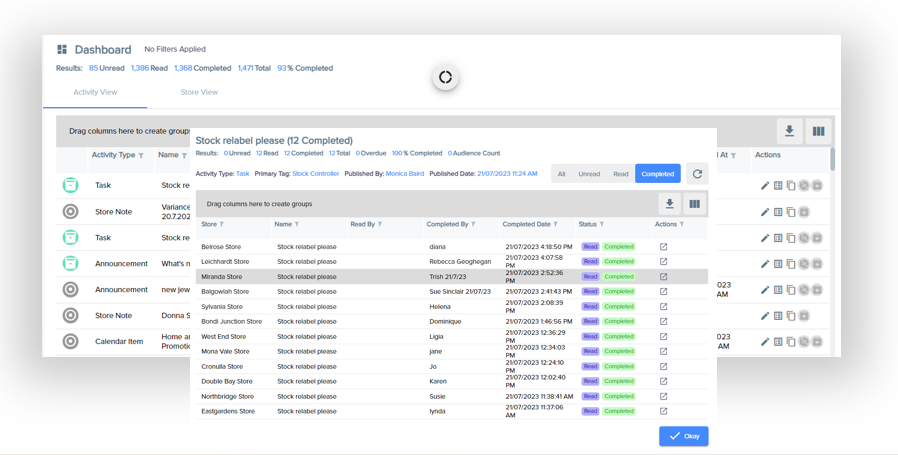
- The number or count of results are presented by Unread, Read, Complete and Total
- Clicking on these counts will pop out a store list of the locations that meet that filter.
- See the next section below on the grid functionality
8. Store View
- This grid displays all the stores with two additional filters for Activity and Activity Name
- They are designed to compare store compliance or status for specfic Activity or Activity Name
- See the next section below on the grid functionality
Interacting with the grid
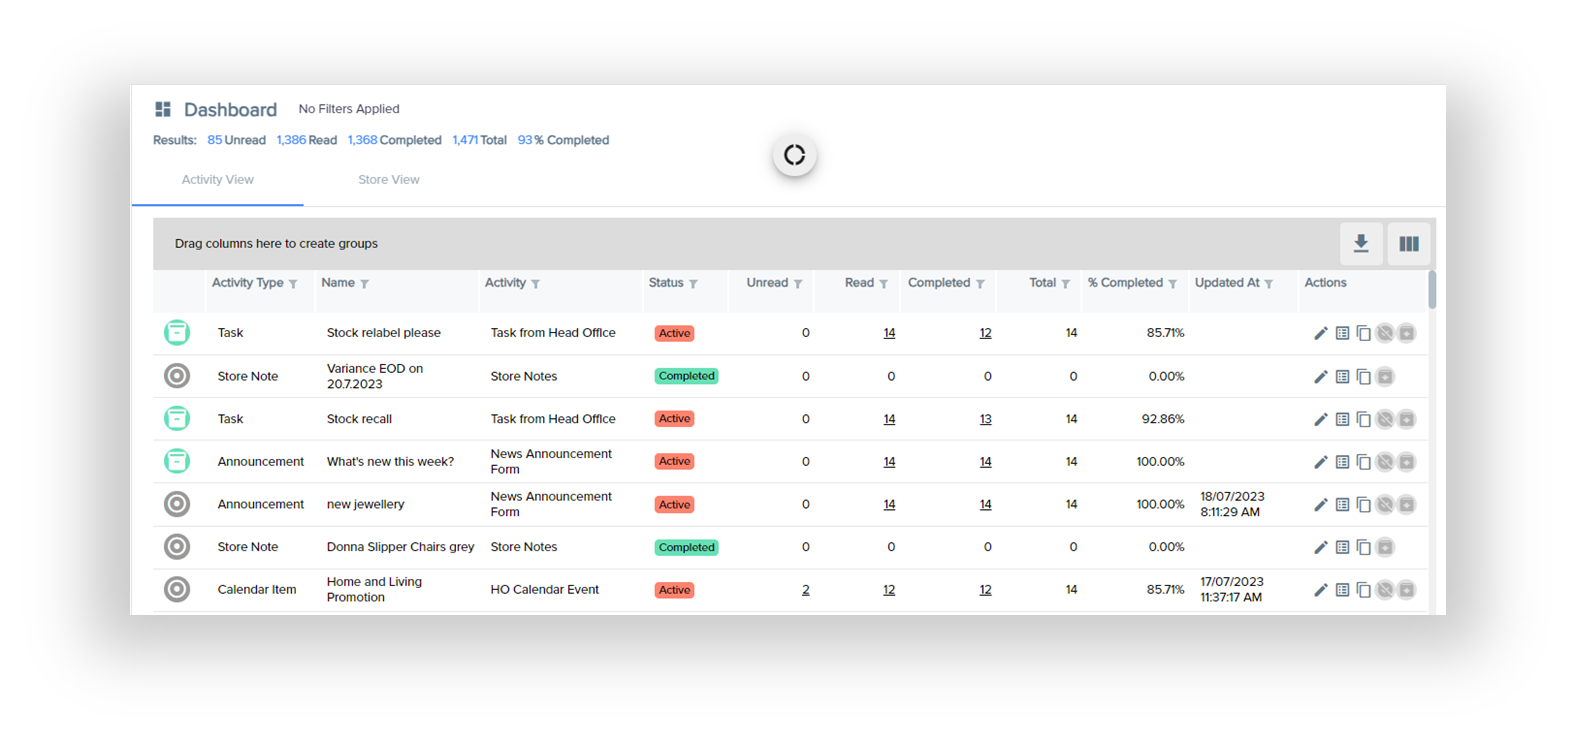
1) Ribbon Tools
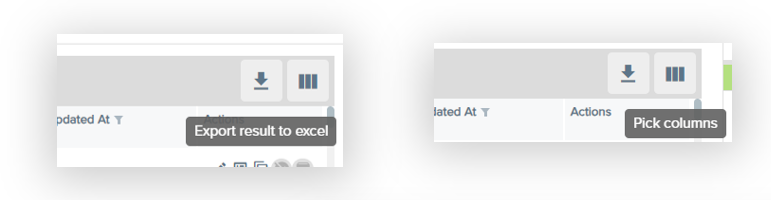
- Export to Excel -
will enable you to download a copy of the table directly onto your PC in Excel
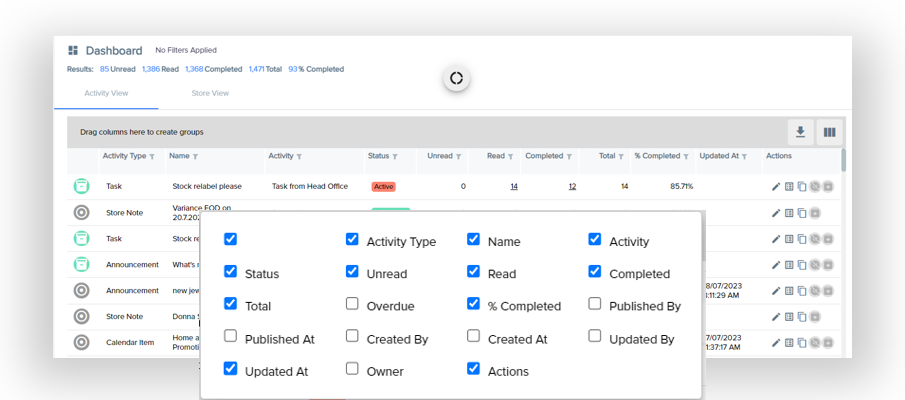
- Pick Columns -
will enable you to choose the column fields you want to see
(Note that these can be saved with My Views as your default view)
2) Pop outs (Activity View Only)
- Clicking on the status numbers, in the Actvity view will pop out the store list that meets that condition
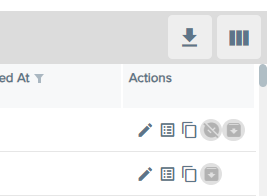
.3) Action Buttons

- Activity View
- View details - will pop out the full details of the Activity
- Show list of responses - will pop out the response list to the activity
- Clone activity - will copy the activity so you can paste, edit and publish
- Archive activity - will allow you to retire the activity and results will no longer be tracked
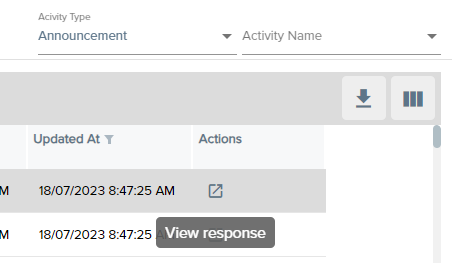
- Store View
- View response - This will pop out a new window showing you the detail of the activity.
4) Table Features
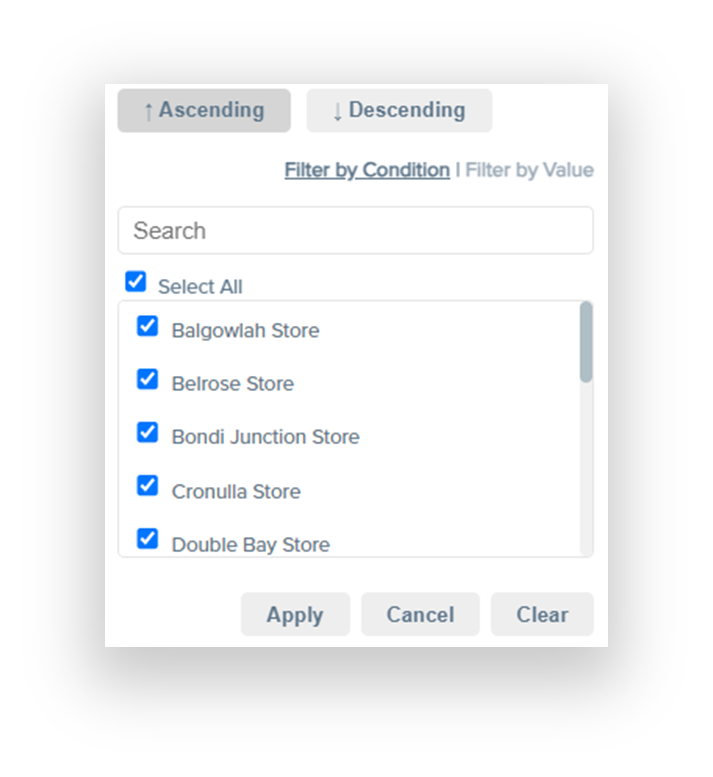
- Column Sorting - acending and descending can be achieved by simply clicking on the column heading
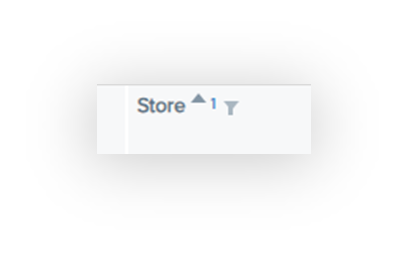
- Column Filtering - can be achieved by clicking on the filter icon in the heading
- Data Grouping - by dragging any of the columns up into the grey filter area, the table layout can be organised how you need it.

- Tip - holding the CTRL key down and clicking on the collapse icon in the row heading will collapse all grouped activities in your view.
Reminder that any of these views can be saved in My Views as your default view for next time.